First, you must have the VB Resource Editor Add-In added to your VB IDE. If you do, the Resource Editor will open when you double-click on the RES file in the Project Explorer. If nothing happens when you double-click the RES file, go to the Add-In Manager to enable the Resource Editor.
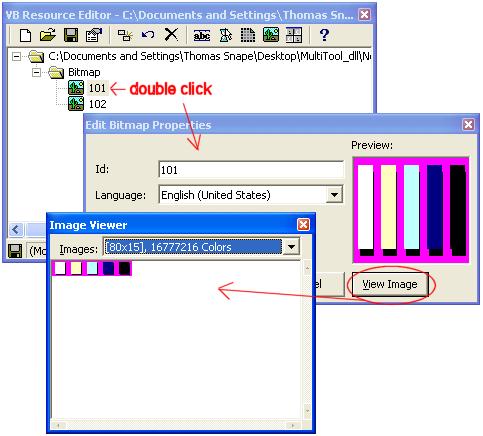
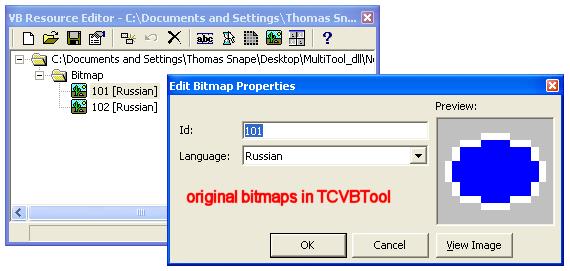
With the resource editor open, you can see what kinds of icons, bitmaps, cursors, etc., have been added to the RES file. If you are looking at the RES that was included with the TCVBTool source code, you will see just two bitmaps. You can see each bitmap by double-clicking on it in the Resource Editor window.
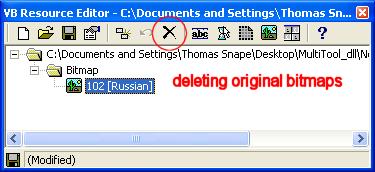
Since we want to replace the existing bitmaps with our own, they must first be removed from the RES file. This is done by selecting each file and clicking the delete button on the Resource Editor toolbar.
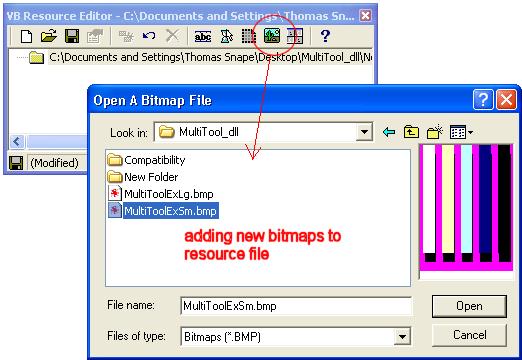
Next we add our new bitmaps to the resource file by clicking the "Add Bitmap" button, and selecting the appropriate bitmap files. Note that for this example, the first file we select should be for the normal, or small sized button faces. It will be assigned resource ID 101.
Note that the bitmaps for the button faces look distorted in the preview window. This is because VB stretches it to fill the image window. To see it normally, click the View Image button. This is also useful because it displays the bitmap size in pixels. Use the color magenta for areas of your bitmap that you want to appear transparent on the button face.